How to Diagnose a Check Engine Light With OBD2
Quick Answer
Plug an OBD2 scanner into the diagnostic port, turn the ignition on without starting the engine, read the stored trouble codes, then use freeze-frame and live data to narrow the cause before replacing anything. A steady light usually means diagnose soon; a flashing light means reduce load and get help promptly.
A check engine light is a warning, not a diagnosis. It means the car’s computer found an engine or emissions-related fault, without saying which part failed. A scan turns that warning into a starting point: a code, the conditions when it set, and data you can check.
The process below works for most 1996 and newer cars and light trucks sold in the United States, which use the standardised OBD2 system. Menus vary, so check the owner’s manual when a step looks different.
First, Read the Light: Steady or Flashing?
Note how the light behaves before scanning. That detail changes urgency, even though it does not identify the fault.
| Light | What it usually means | What to do |
|---|---|---|
| Steady | A fault has been confirmed and stored. | Scan soon; do not put the repair off for weeks. |
| Flashing | Often an active misfire that can overheat the catalytic converter. | Ease off the accelerator, reduce load, and get service promptly. |
| On with another red warning | A separate problem, such as low oil pressure or overheating, may be present. | Pull over safely and switch the engine off. |
Also note other changes: rough running, power loss, a new noise, fuel smell, overheating, or recent refuelling. A loose fuel cap is one common cause, not the assumed cause until the scan supports it.
Warning
Stop driving if the engine shakes badly, loses power, stalls, overheats, smells strongly of fuel, or shows a red oil-pressure or temperature warning.
What You Need Before You Scan
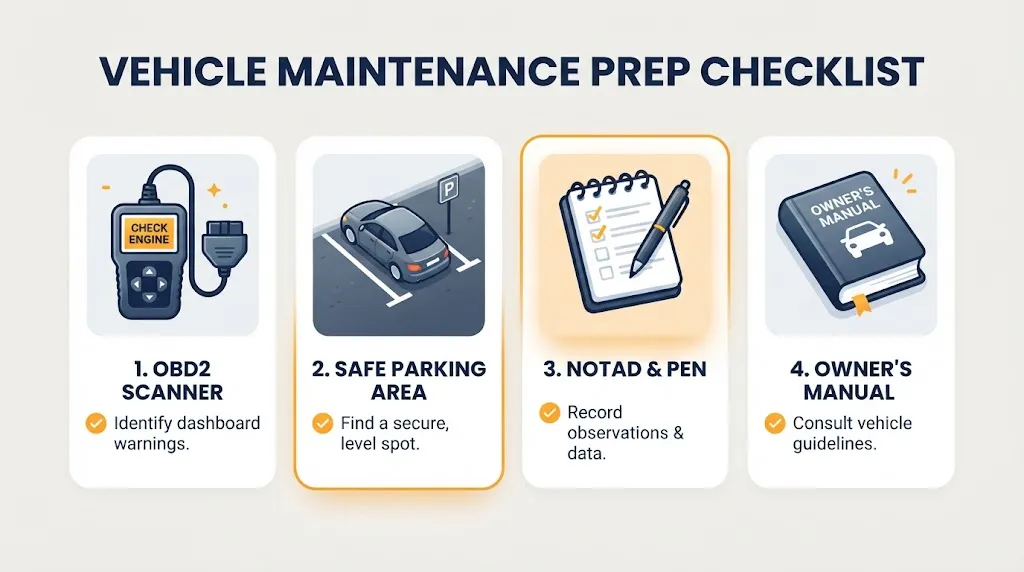
A basic code reader will retrieve codes. A fuller scanner also shows freeze-frame data, live data, and readiness monitors, which matter when a code alone is ambiguous.
- An OBD2 scanner or code reader that fits the 16-pin diagnostic port.
- A safe, parked place to work, plus a phone or notepad to record every code exactly as shown.
- The vehicle’s owner’s manual, if the port location or a warning symbol is unclear.
The port is usually under the dashboard on the driver’s side, within reach of the driver’s seat. If you cannot find it, check the guide to where the OBD2 port is located for the common positions. The connector fits one way, so do not force it if it will not seat.
How to Scan the Car, Step by Step
Record results before clearing anything. Skipping that step wastes the most time later.
- Park safely and switch the ignition off. Plug the scanner firmly into the diagnostic port.
- Turn the ignition to On, without starting the engine. On a push-button car, press start without pressing the brake, if that is how your model reaches ignition-on.
- Select Read Codes, Trouble Codes, or DTCs. Menu wording varies, but the function is the same. Wait for the scan to finish.
- Write down every code, in order. Include stored, pending, and permanent codes if your scanner separates them, and note whether the lamp is shown as on or off.
- Open freeze-frame data for the first stored code. This snapshot shows engine conditions at the moment the fault set, such as speed, load, coolant temperature, and fuel trims.
- Check live data only if it helps the specific code. Start the engine when the scanner asks for live data, and compare the suspect sensor’s reading with what you would expect at idle and under light load.
- Check readiness monitors if an emissions test is near. Incomplete monitors do not mean a fault, but they show which self-tests have not finished since codes were last cleared.
- Do not clear codes yet. Clearing erases the code and freeze-frame data and resets monitors. Keep that evidence until you have a diagnosis and a repair plan.
If the scanner will not connect, check the connector, ignition, and the fuse shared with the cigarette lighter circuit.
How to Read the Code You Get
A diagnostic trouble code, or DTC, is a five-character label. Learning what a diagnostic trouble code actually is helps you avoid the most common misreading: treating the code as the name of a failed part. The code points to a system and a test that failed. It does not prove that the sensor named in the description is faulty.
| Character | Meaning | Example |
|---|---|---|
| First letter | System: P for powertrain, B for body, C for chassis, U for network | P in P0300 |
| Second character | 0 usually means generic; 1 usually means manufacturer-specific | 0 in P0300 |
| Third character | Subsystem, such as fuel, ignition, or emissions | 3 for ignition and misfire |
| Last two digits | The specific fault within that subsystem | 00 for random misfire |
Code status matters too. A pending code means a test failed once; a stored code means the fault met the criteria to turn the light on; a permanent code on newer vehicles remains until the computer verifies the repair itself.
Use Freeze-Frame and Live Data to Narrow It Down
Codes are most useful with context. Freeze-frame data shows what the car was doing when the fault happened. What OBD2 freeze-frame data shows includes engine speed, load, coolant temperature, and fuel trims at that moment. If a fault set only at cold start, only at high load, or only at idle, that pattern points to different checks.
Live data shows what the sensor is doing now. The guide to how to read OBD2 live data is useful here, because raw numbers without a comparison are easy to misread. Look for readings that are stuck, implausible, or inconsistent with other sensors, rather than chasing every small fluctuation.
- Freeze frame first: note the conditions that triggered the code.
- Symptoms second: match those conditions to how the car felt.
- Live data third: try to reproduce the condition safely and see whether the suspect reading behaves abnormally.
- Simple checks fourth: inspect connectors, vacuum hoses, wiring, and fluid levels related to that system before ordering parts.
Key Insight
A code names a failed test, not a failed part. The diagnosis is checking whether the sensor, its wiring, its supply, or the system it monitors is the reason that test failed.
Work From Code to Cause, Without Guessing Parts
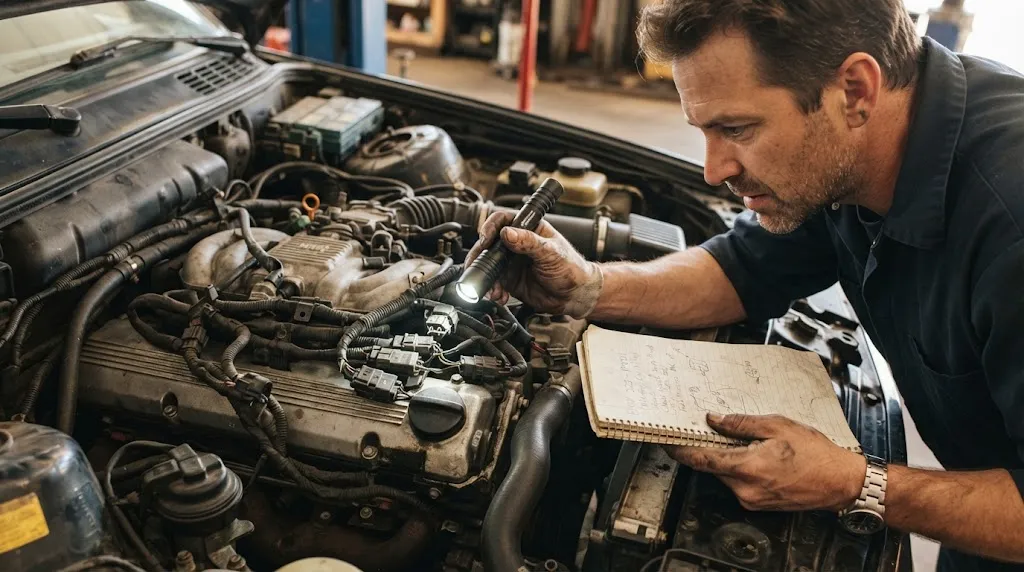
Work through likely causes by simplicity and evidence. These examples show the logic, not a repair for every car.
If the code is P0300 or a cylinder-specific misfire code such as P0301: check ignition, fuel, and air supply for the affected cylinder. A single-cylinder code narrows the search more than a random-misfire code, which points to a shared cause such as fuel pressure or a vacuum leak.
If the code is P0420, catalyst efficiency below threshold: do not jump straight to a new catalytic converter. Exhaust leaks, oxygen sensor problems, misfires, and engine running problems can all affect that test, so those checks come first.
If the code is an evaporative emissions leak such as P0455 or P0456: check the fuel cap first, including its seal and whether it clicks shut. If the cap is sound, the leak may be in a hose, valve, or canister, and locating it precisely usually needs a workshop smoke test.
If the code is a lean code such as P0171: think about unmetered air, fuel delivery, and sensor readings together. A vacuum leak, a dirty mass airflow sensor, low fuel pressure, and an exhaust leak before the oxygen sensor can all push fuel trims the same way, so live fuel-trim data helps separate them.
With more than one code, look for a shared cause first. Fixing a misfire, for example, may also resolve a related catalyst code.
Common Mistakes That Waste Time
Most failed diagnoses come from skipping evidence, clearing it too early, or replacing the part named in a code description.
- Clearing codes before recording them. You lose freeze-frame data and may reset readiness monitors, delaying an emissions test.
- Replacing a sensor because its name appears in the code. Test the circuit and the system first where you safely can.
- Ignoring pending codes. A pending code can show an intermittent fault before it becomes confirmed, especially if the light later goes out.
- Assuming a generic code means the same repair on every car. Manufacturer-specific codes and model-specific service information can change the correct test.
Clearing a code also does not fix a fault. As explained in the guide to whether clearing OBD2 codes fixes the problem, the light may stay off for a while and return when the test runs again and fails. That return is useful information, not a scanner failure.
When to Stop and Get Help
A scan is a strong first step, not a complete diagnosis for every fault. Get help promptly for a flashing light with continuing symptoms, a failed connection, a returning code, or work needing fuel-pressure, exhaust, internal-engine, or manufacturer-specific testing.
Take your notes: codes in order, freeze-frame conditions, symptoms, first appearance, and checks already done. The U.S. EPA guidance on on-board diagnostics describes the same basic idea: the system monitors emissions-related components, stores a code when a malfunction is found, and turns on the malfunction indicator lamp to alert the driver.
Tip
Photograph the scanner screen before you clear anything. If the light returns later, you can compare the old and new codes instead of relying on memory.
Related Product
OBD2 Scanner
A scanner that reads codes, freeze-frame data, and live data makes the steps in this guide possible without a workshop visit for the first check.
As an Amazon Associate, we earn from qualifying purchases.
Frequently Asked Questions
Can I diagnose a check engine light with a basic code reader?
Yes, for the first step. A basic reader shows stored codes, often enough to identify the system involved. A fuller scanner is more useful when the code is ambiguous, because freeze-frame and live data help separate a faulty sensor from a wiring or system problem.
Do I need to start the engine to scan for codes?
No, not for reading stored codes. Turn the ignition on without starting the engine. Start it only when you need live data or the scanner instructs you to do so for a specific test.
What if my scanner shows no codes but the light is on?
Recheck the connection and ignition position, and try pending and stored codes separately if your scanner offers those menus. Some faults or manufacturer-specific systems may need a more capable scanner or a workshop check.
Should I clear the code after I read it?
Not until you have recorded the codes and freeze-frame data and have a diagnosis or repair plan. Clearing early erases evidence and resets readiness monitors. After a repair, clearing is reasonable, followed by a drive cycle to confirm the code does not return.
Can one code have more than one cause?
Yes, very often. A code records a failed test in a system, so several faults can produce the same result. Symptoms, freeze-frame conditions, and live data help narrow the list to the cause supported by evidence.
How long does an OBD2 diagnosis usually take?
Reading codes takes only a few minutes once the scanner connects. Reaching a reliable diagnosis takes longer, depending on the code, whether the fault is intermittent, and how much testing the suspect system needs.
Conclusion
Diagnosing a check engine light is a sequence: note steady or flashing, scan and record every code, check freeze-frame conditions, use live data where it clarifies the fault, and test likely causes before replacing parts. Keep the evidence until the repair is confirmed.

I’m Alex Rahman, a car enthusiast and automotive writer focused on practical solutions, car tools, and real-world driving advice. I share simple and honest content to help everyday drivers make better decisions.
